My wife and I enjoy walking/hiking around our beautiful Cape Ann, as well as kayaking on the lakes, inlets, harbors, and even “ocean” (although we do stay very close to shore to see the rocks). I have always wanted to get some type of GPS (Global Positioning System) unit that would allow me to show, on a map, where we go. Additionally, I really like “dancing the dance” – accomplishing 6 or 7 errands to 6 or 7 different locations as quickly and efficiently as possible (a library or two, dump, paper recycling, Post Office, CVS, grocery store, etc), and I would love to see my tracks on a map when I’m done.
Once upon a time I had an iPhone, and there was a great little app called Footsteps, but it used a lot of power from the iPhone, plus I traded it to my daughter last Christmas for her “not-smart” cell phone. Last week I read GPS for Dummies by Joel McNamara (2nd edition) – a very well-written book:
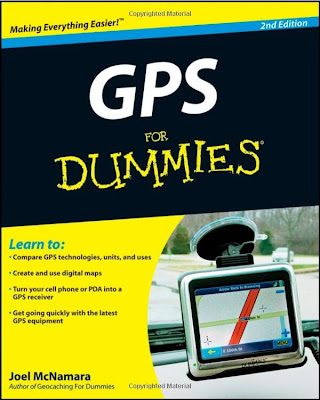
There are two ways to read this book: 1) starting at page one and going through to the end gives you great exposure to all aspects of GPS (to quote the Summary: An updated guide to the latest advances in GPS technology, devices, and applications provides step-by-step instructions on how GPS works, selecting and using GPS receivers, turning cell phones and PDAs into a GPS receiver, using digital maps, the game of geocaching, and other essential topics), or 2) figure out what you want to do and concentrate on that.
i-gotU GT-120 Travel Blog Master (USB GPS, Data Logger, SiRF III Chipset) – used $40.
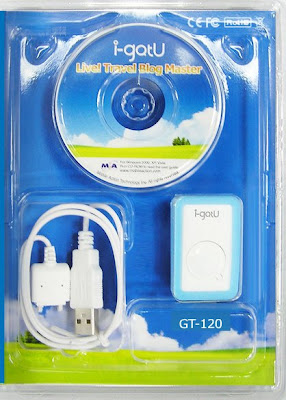
To give you an idea of the size, yes, that is a USB cable on the left! The gps unit fits in a circle you can make with your thumb and forefinger. To get up-and-running, load the mini-cd on your computer, and plug the unit into the USB cable, and plug the cable into your computer. This will charge the unit (couple of hours/overnight for first-time use).
First trip! I went down to White Beach, stood outside the car and pressed the button. “On” will display a little blue light, “Off” will display a little red light. I then put the unit on my dashboard, ran my errands, and turned it off when I got home. Plug it into the cable, and start the @trip PC software. A little Welcome window appears, which I like seeing:
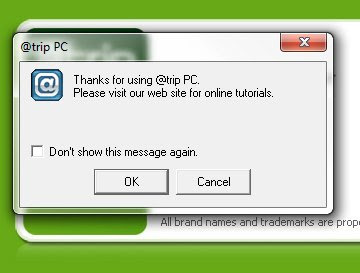
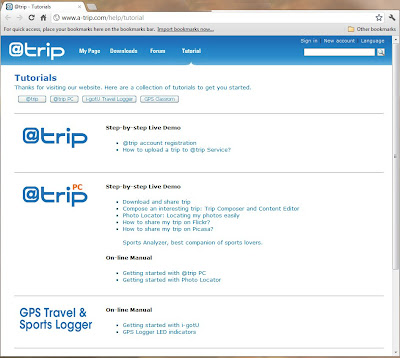
I click OK, and the software connects to their web site:
The software also detects the unit, and prompts you:
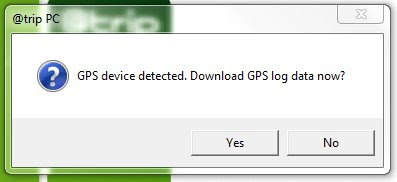
Click Yes, and the data is downloaded:
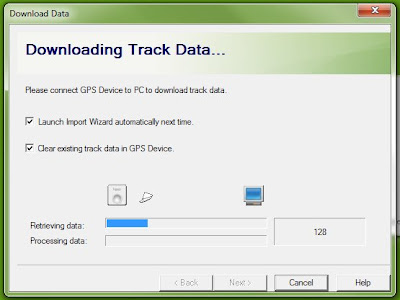
(One of the preferences I have is to clear the device after download)
The “Create Trip” window appears:
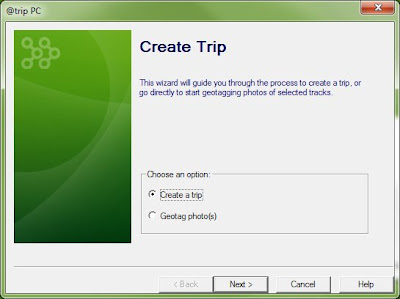
Click “Create a trip”, and click Next. You will be prompted to select a track (the one you just downloaded is selected by default)
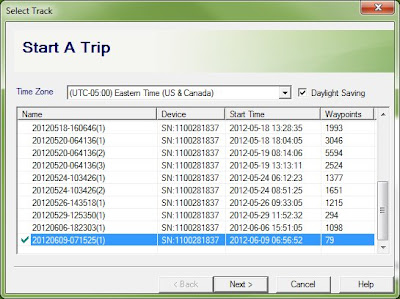
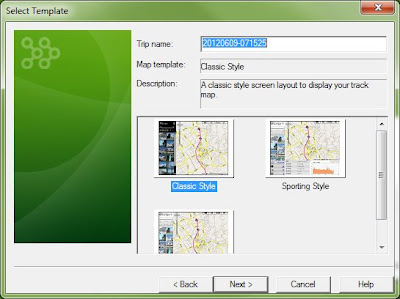
then click Next. You can then select a template for your map:
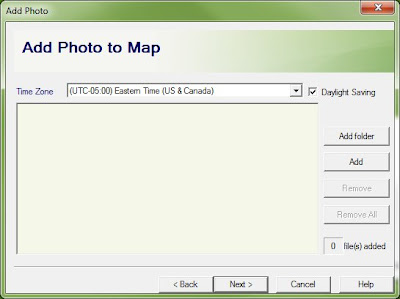
click Next. You can then add a photo to your map, if you like:
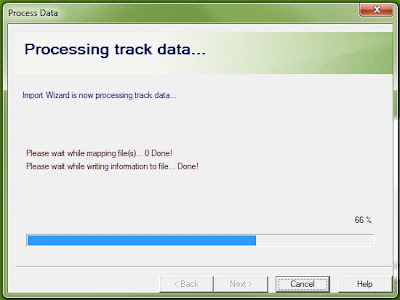
click Next. After processing the track data
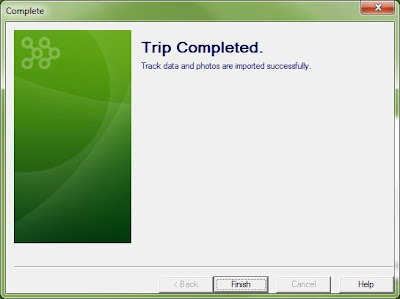
you get the Trip Completed window:
Click Finish.
You get a “clearing status” message;
Then a Success message:
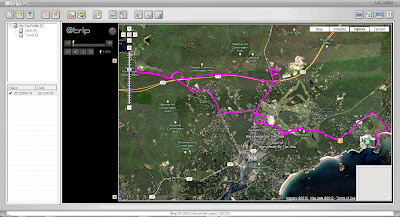
Click OK, and the map is drawn!

More tomorrow on getting your trip into Google Earth!
 There are two ways to read this book: 1) starting at page one and going through to the end gives you great exposure to all aspects of GPS (to quote the Summary: An updated guide to the latest advances in GPS technology, devices, and applications provides step-by-step instructions on how GPS works, selecting and using GPS receivers, turning cell phones and PDAs into a GPS receiver, using digital maps, the game of geocaching, and other essential topics), or 2) figure out what you want to do and concentrate on that.
i-gotU GT-120 Travel Blog Master (USB GPS, Data Logger, SiRF III Chipset) – used $40.
There are two ways to read this book: 1) starting at page one and going through to the end gives you great exposure to all aspects of GPS (to quote the Summary: An updated guide to the latest advances in GPS technology, devices, and applications provides step-by-step instructions on how GPS works, selecting and using GPS receivers, turning cell phones and PDAs into a GPS receiver, using digital maps, the game of geocaching, and other essential topics), or 2) figure out what you want to do and concentrate on that.
i-gotU GT-120 Travel Blog Master (USB GPS, Data Logger, SiRF III Chipset) – used $40.
 To give you an idea of the size, yes, that is a USB cable on the left! The gps unit fits in a circle you can make with your thumb and forefinger. To get up-and-running, load the mini-cd on your computer, and plug the unit into the USB cable, and plug the cable into your computer. This will charge the unit (couple of hours/overnight for first-time use).
First trip! I went down to White Beach, stood outside the car and pressed the button. “On” will display a little blue light, “Off” will display a little red light. I then put the unit on my dashboard, ran my errands, and turned it off when I got home. Plug it into the cable, and start the @trip PC software. A little Welcome window appears, which I like seeing:
To give you an idea of the size, yes, that is a USB cable on the left! The gps unit fits in a circle you can make with your thumb and forefinger. To get up-and-running, load the mini-cd on your computer, and plug the unit into the USB cable, and plug the cable into your computer. This will charge the unit (couple of hours/overnight for first-time use).
First trip! I went down to White Beach, stood outside the car and pressed the button. “On” will display a little blue light, “Off” will display a little red light. I then put the unit on my dashboard, ran my errands, and turned it off when I got home. Plug it into the cable, and start the @trip PC software. A little Welcome window appears, which I like seeing:
 I click OK, and the software connects to their web site:
 The software also detects the unit, and prompts you:
 Click Yes, and the data is downloaded:
 (One of the preferences I have is to clear the device after download)
The “Create Trip” window appears:
(One of the preferences I have is to clear the device after download)
The “Create Trip” window appears:
 Click “Create a trip”, and click Next. You will be prompted to select a track (the one you just downloaded is selected by default)
 then click Next. You can then select a template for your map:
 click Next. You can then add a photo to your map, if you like:
 click Next. After processing the track data
 you get the Trip Completed window:
 Click Finish.
You get a “clearing status” message;
Click Finish.
You get a “clearing status” message;
 Then a Success message:
 Click OK, and the map is drawn!

 More tomorrow on getting your trip into Google Earth!
No comments:
Post a Comment